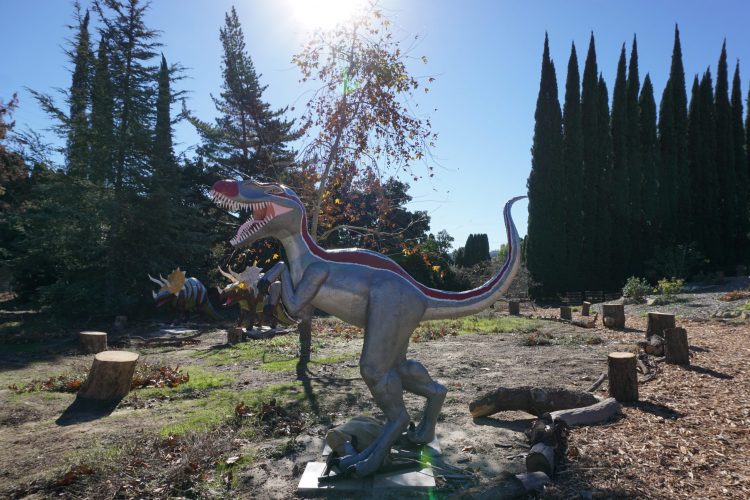
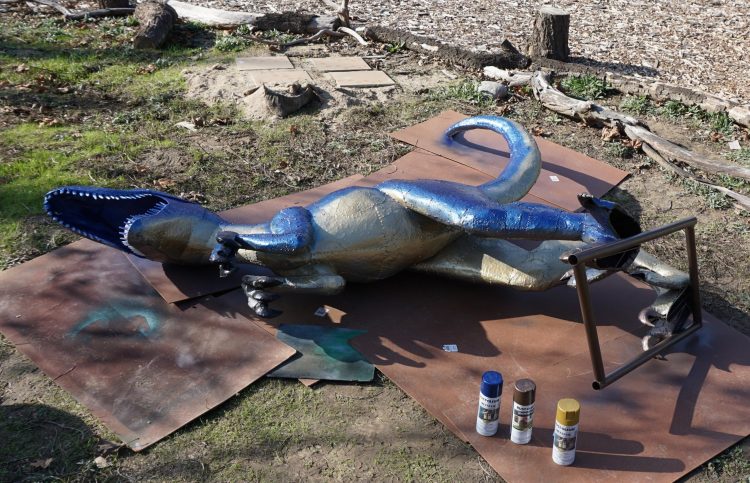
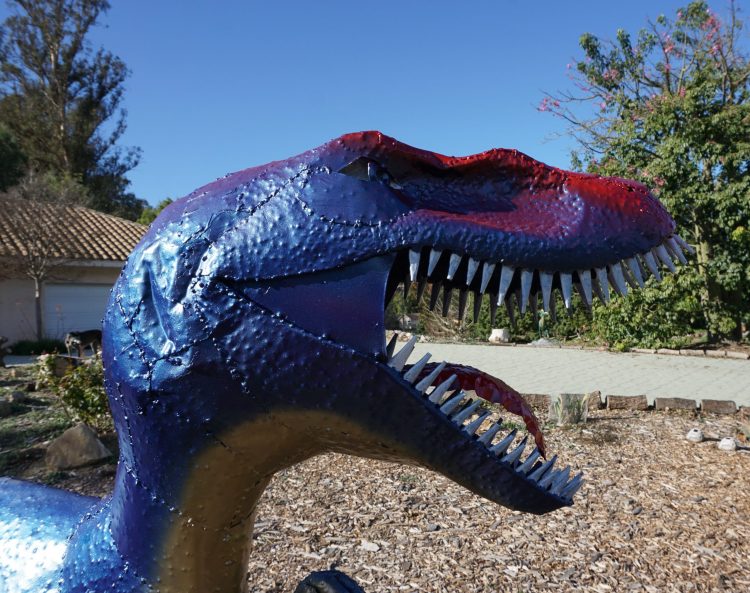
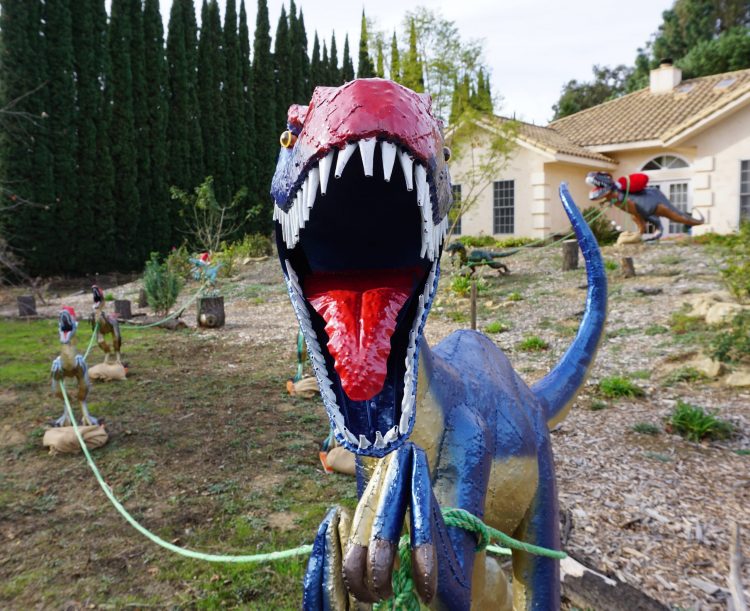
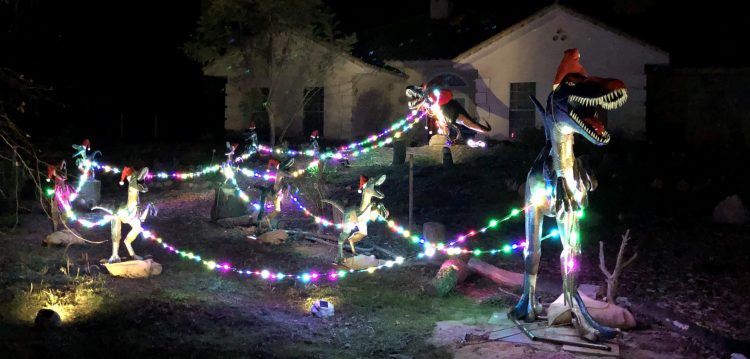
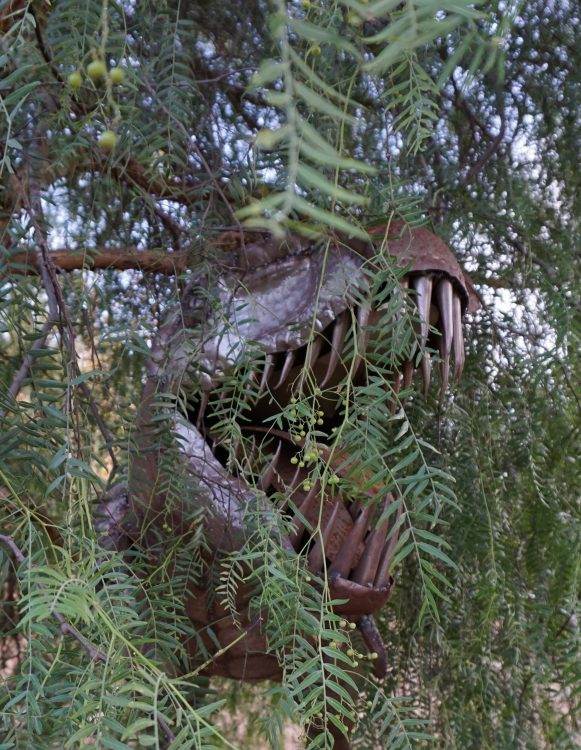
A couple of years ago, Raphael moved to a new perch. It’s a great location. He was the first one you would see coming up the driveway. With a magnificent Ankylosaur Tree right behind him you couldn’t wish for a better spot. Unfortunately before I installed cables to secure him in bad weather, we had unexpected high winds. They knocked Raphael to the ground, his head hitting the concrete driveway with the rest of his body landing on the bark in the planting area. The dents on his head oddly resemble scratches from a fight. First Raphael moved to secure perch with cables to prevent a repeat incident. I cleaned the damaged spots and used “rust reformer” to protect the areas where the paint had been clipped away after first light wire brushing & sanding. For past Christmas’s Raphael wore a piece of painted aluminum foil painted red on his nose. It was time for some brighter colors with a permanent Red-Nose design.

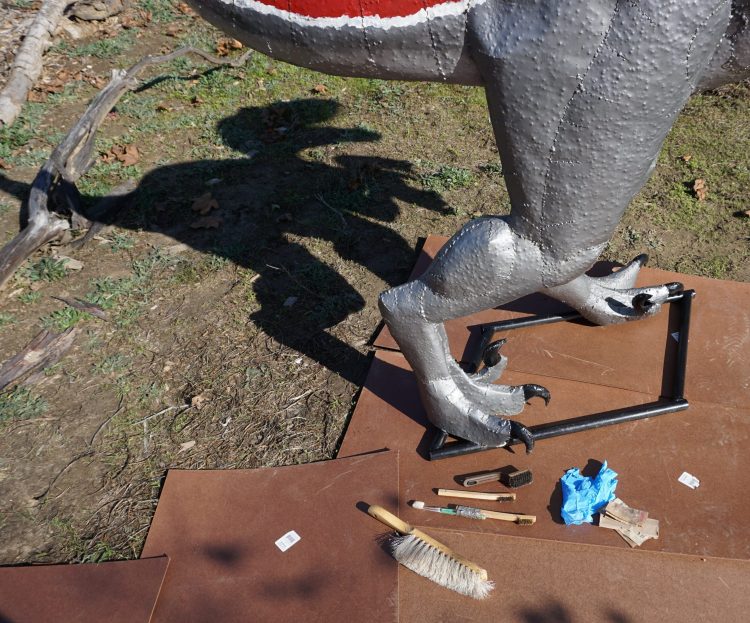
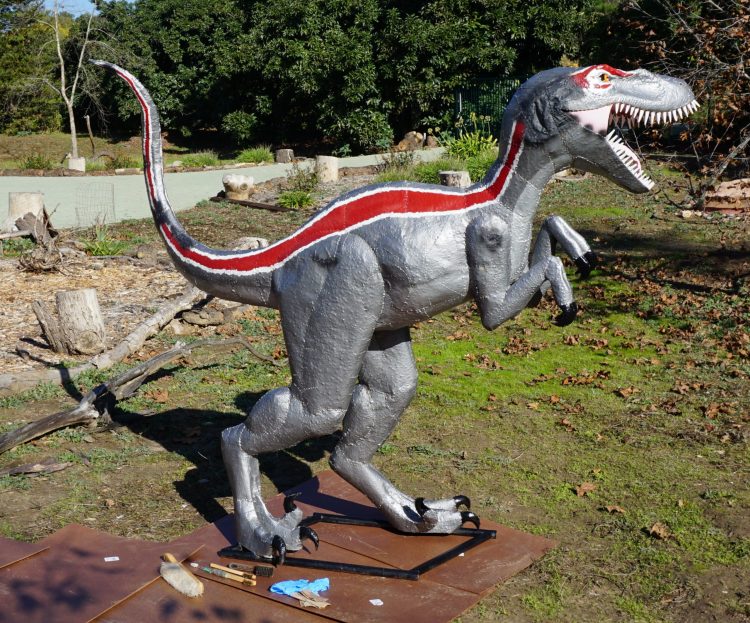
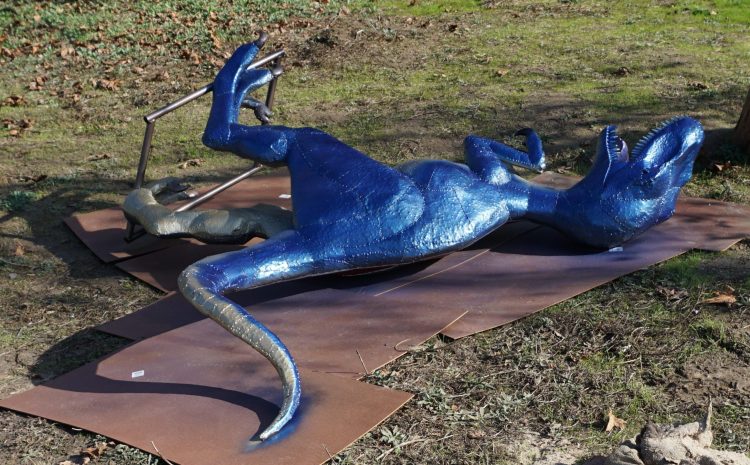
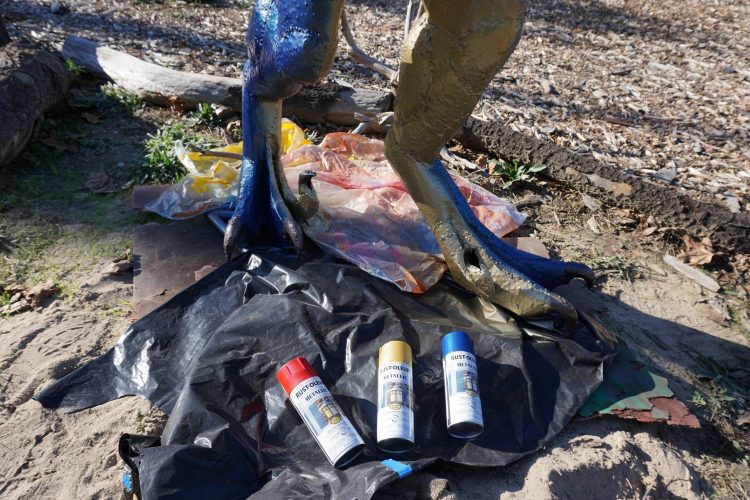
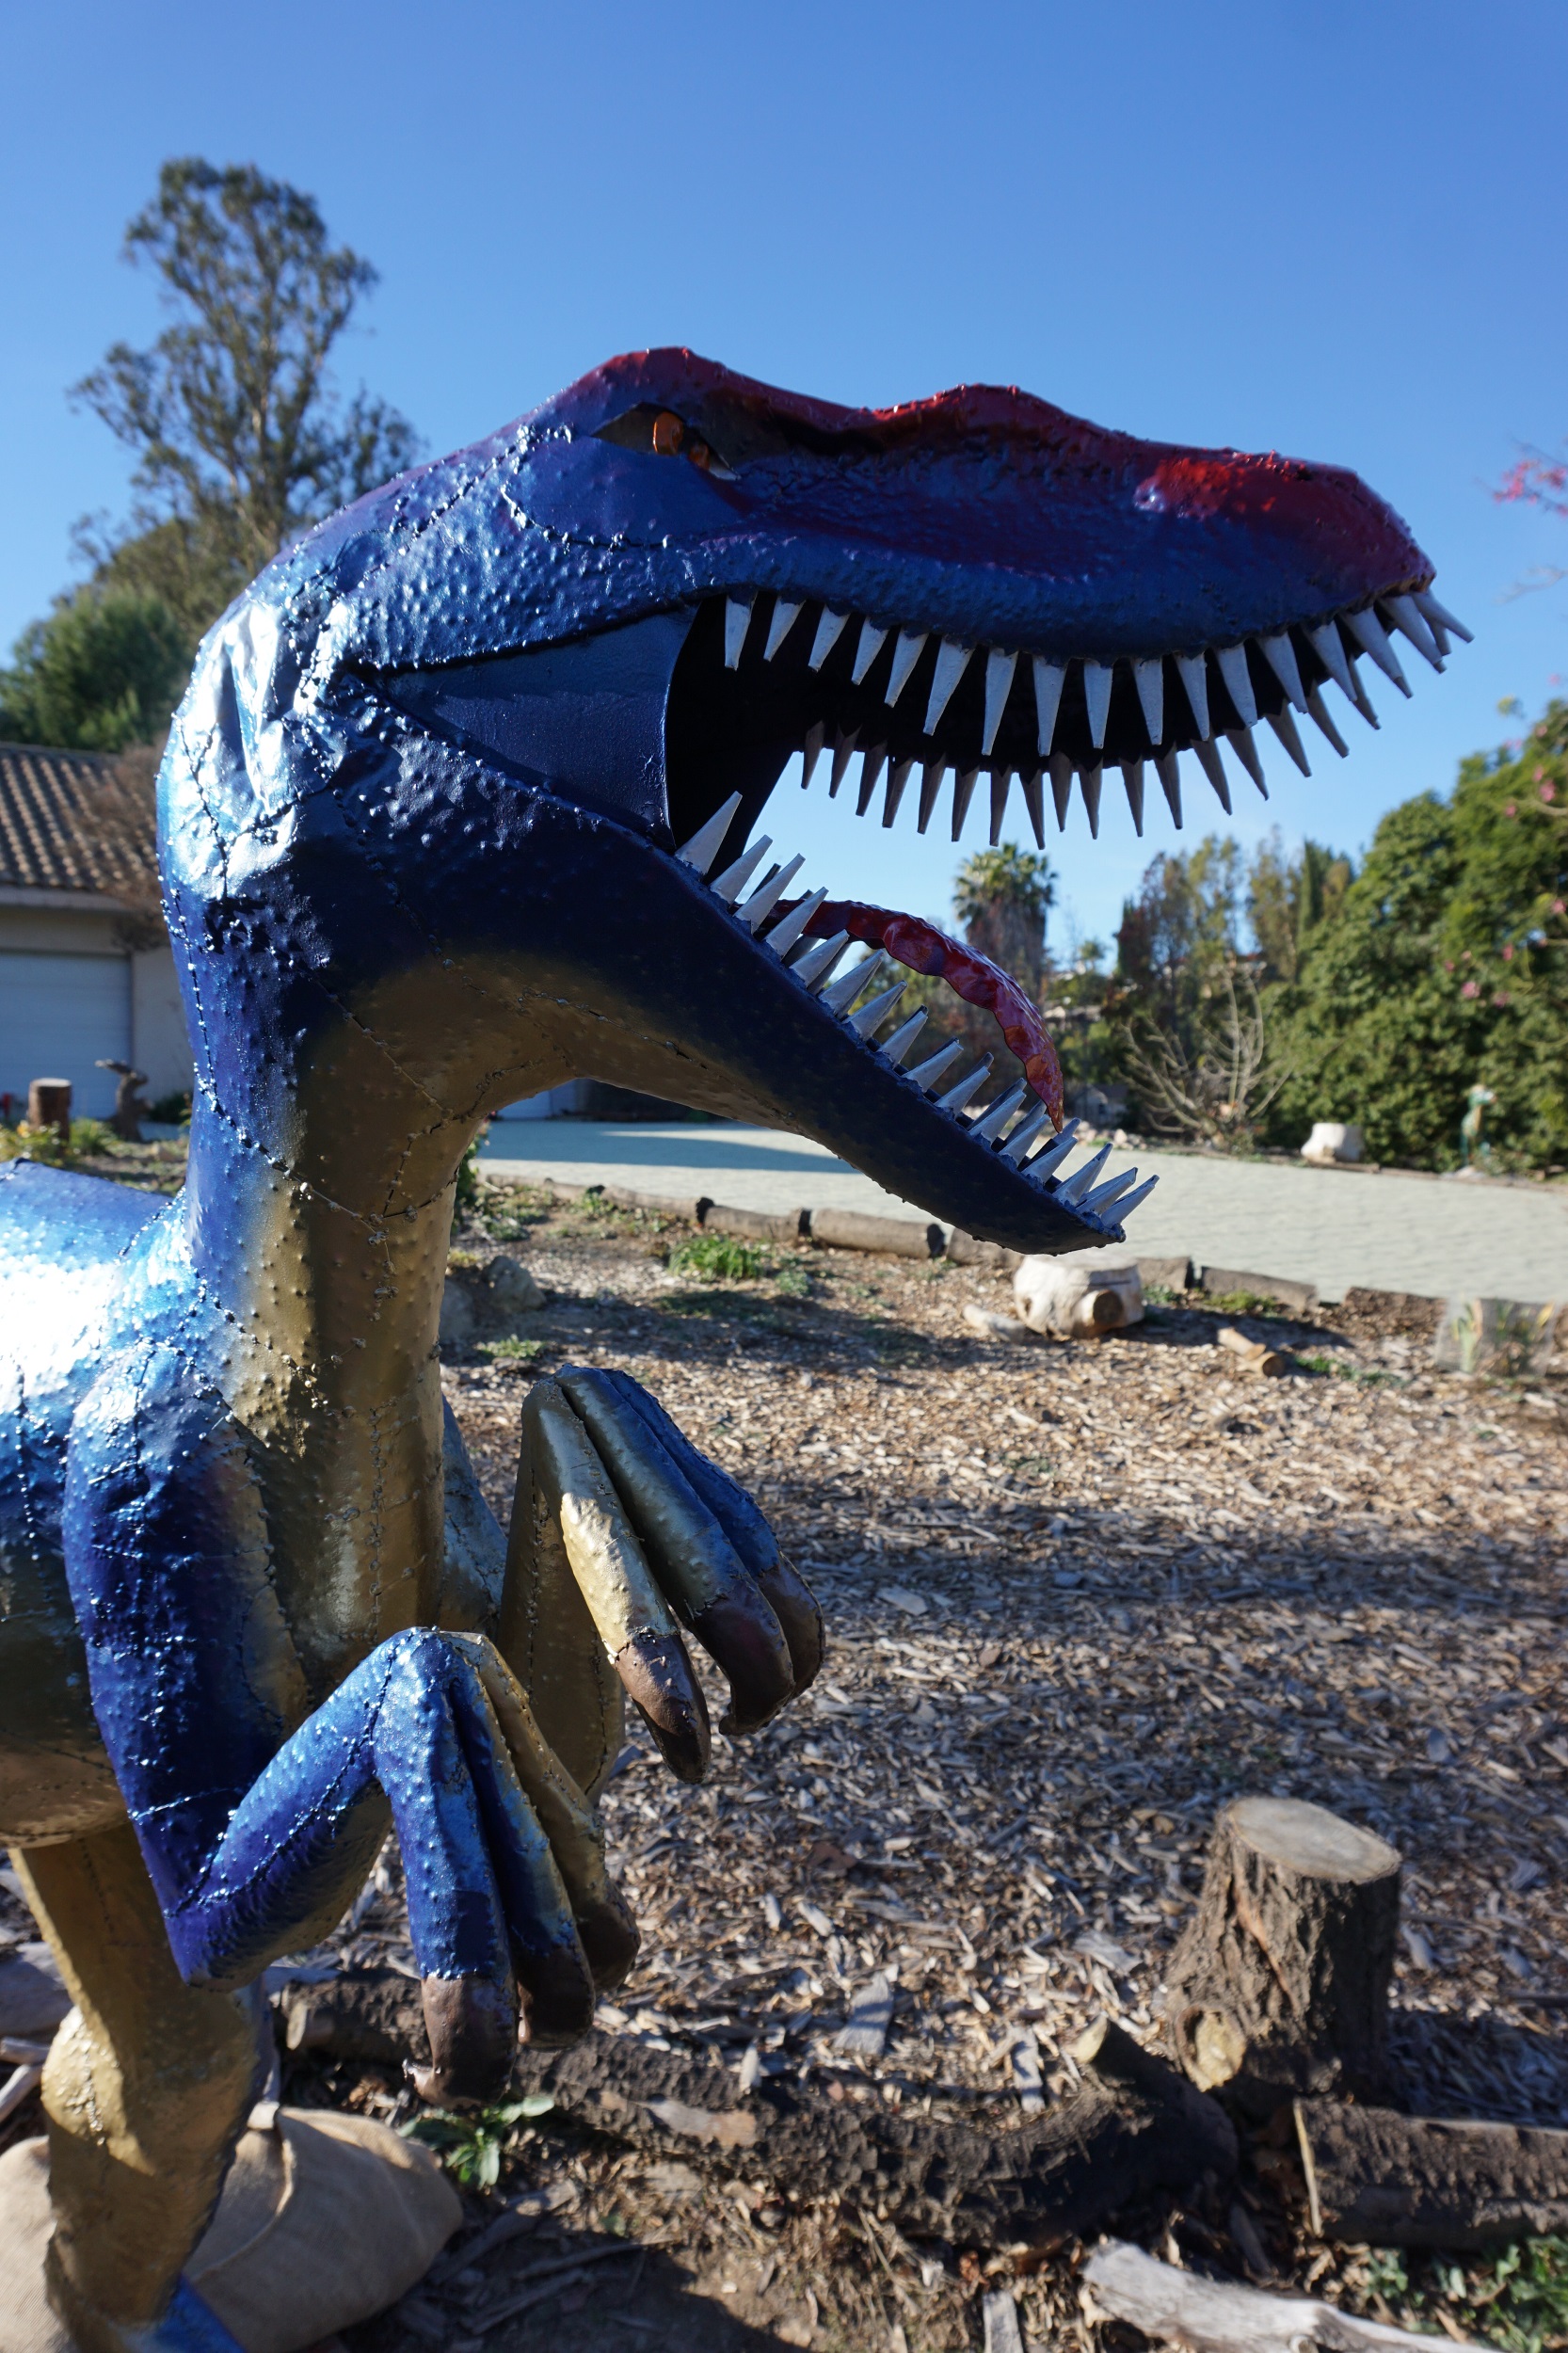
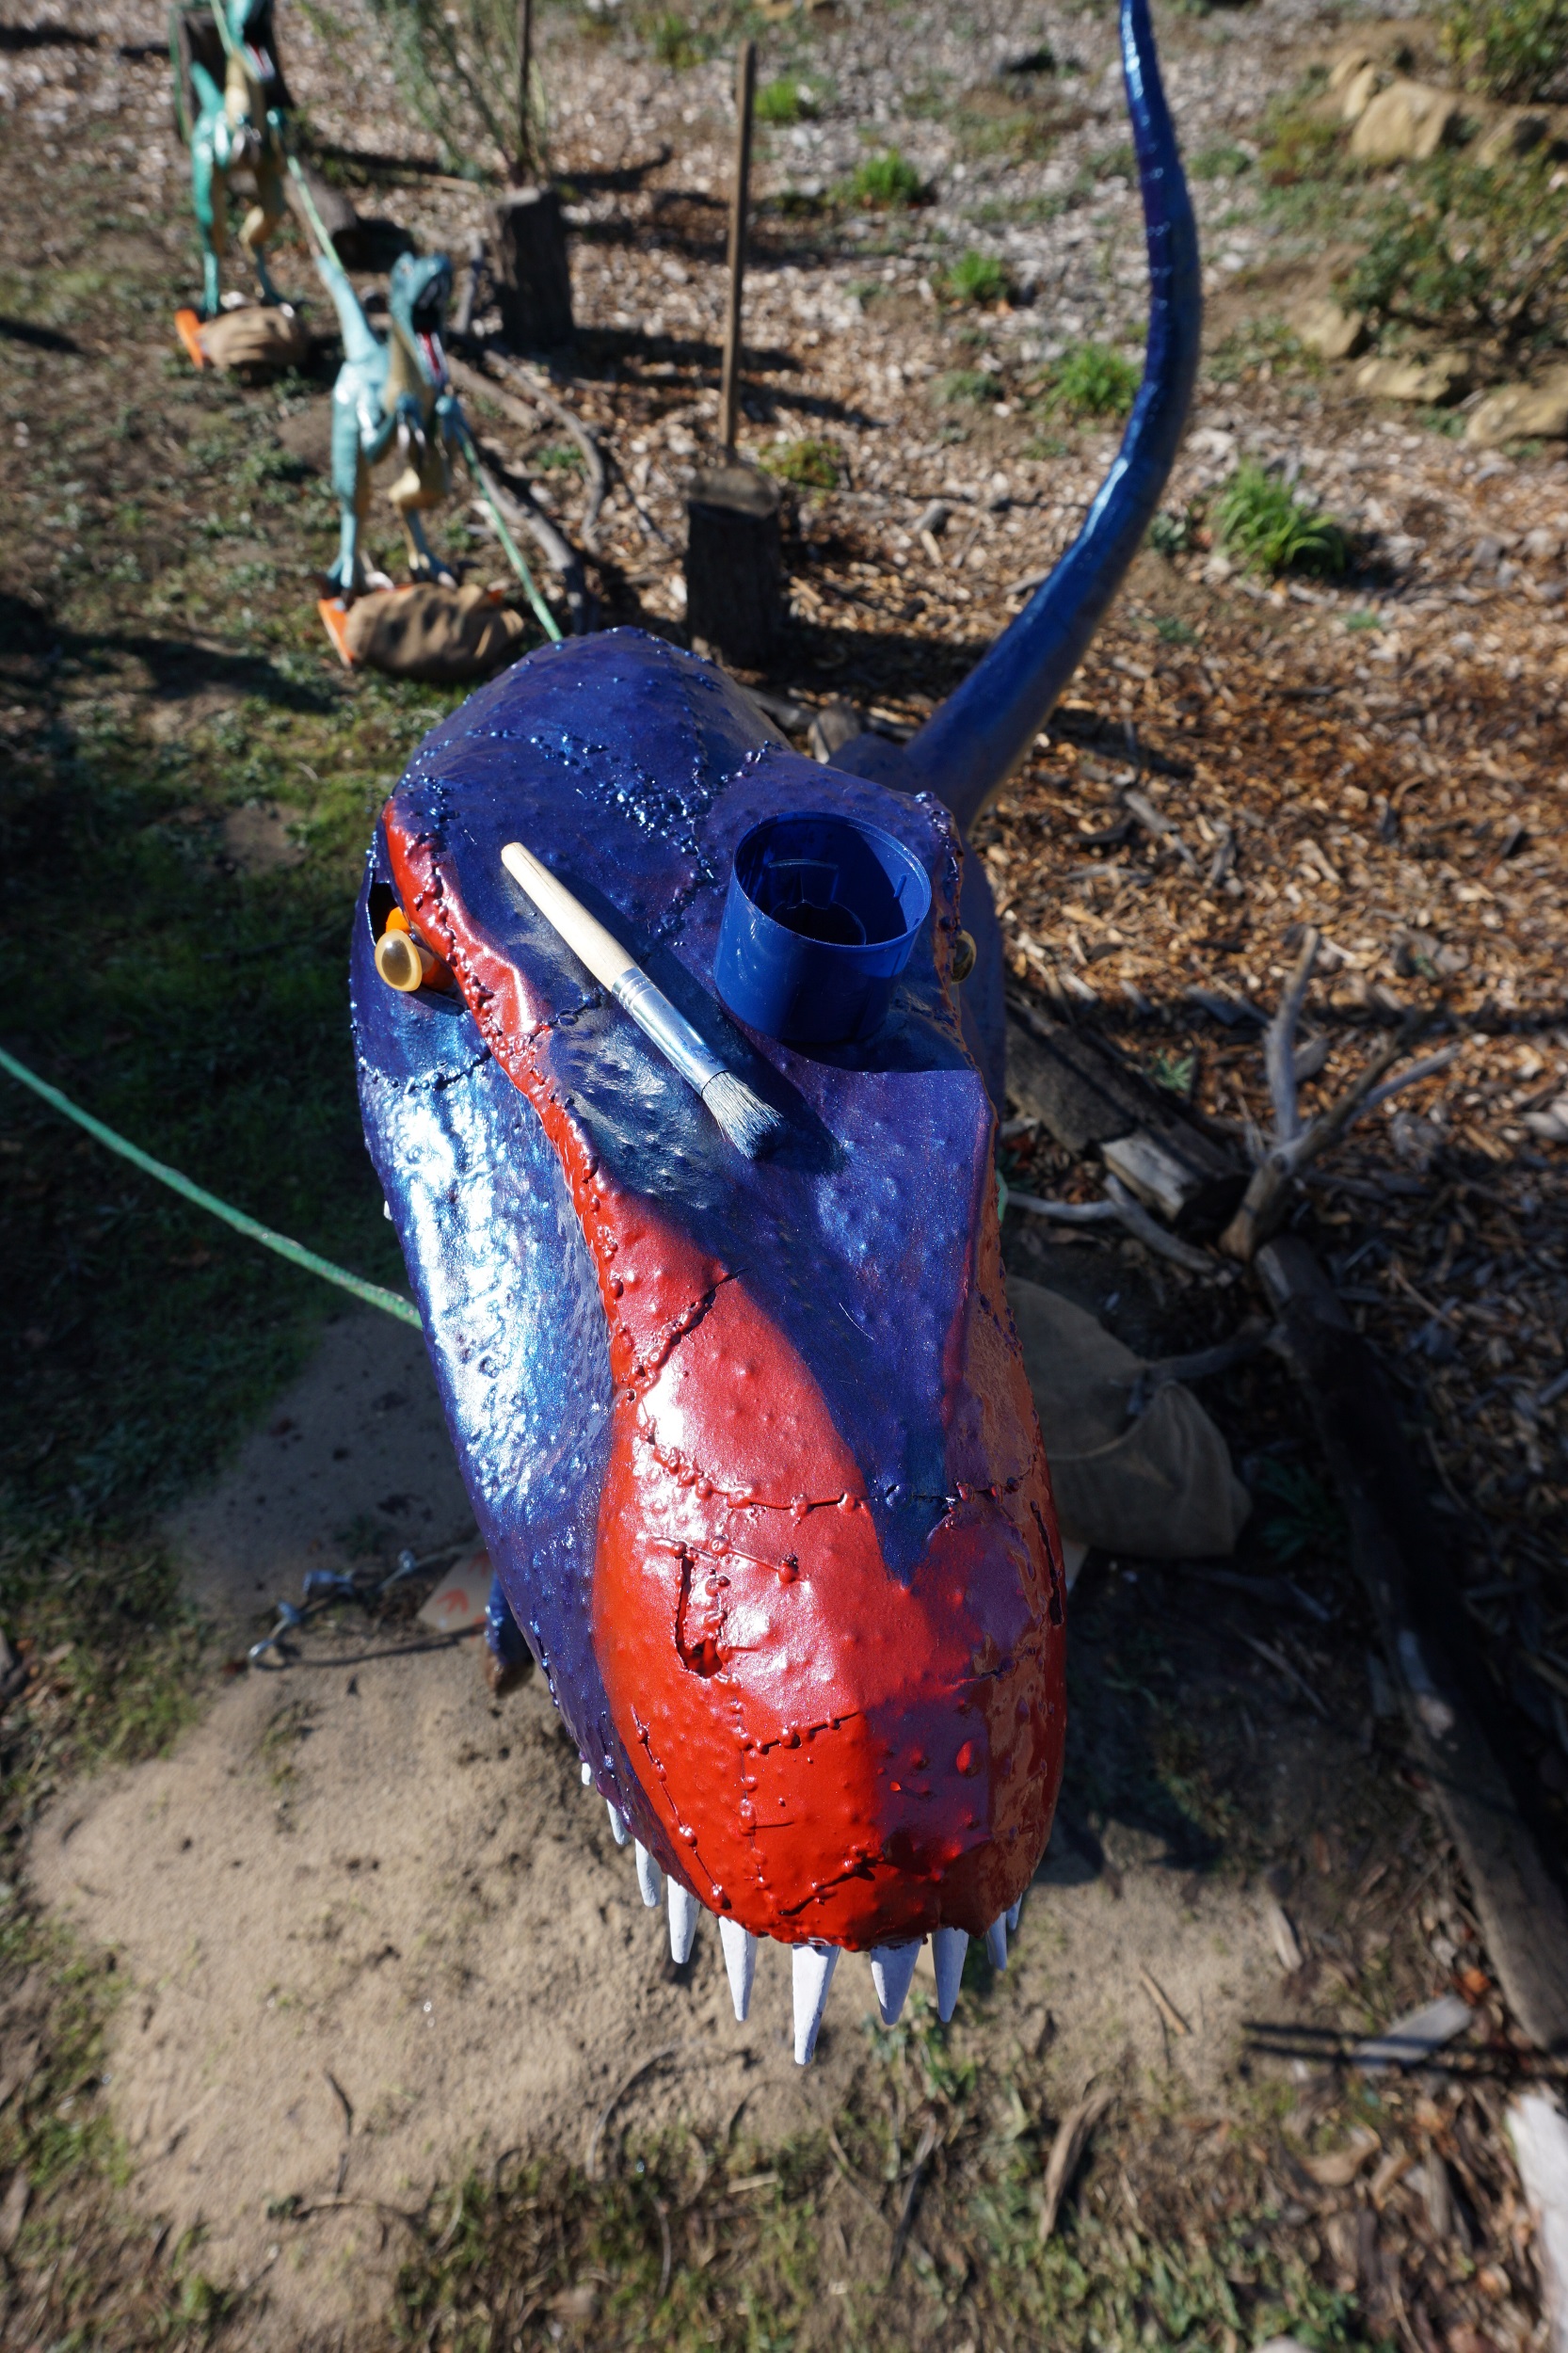
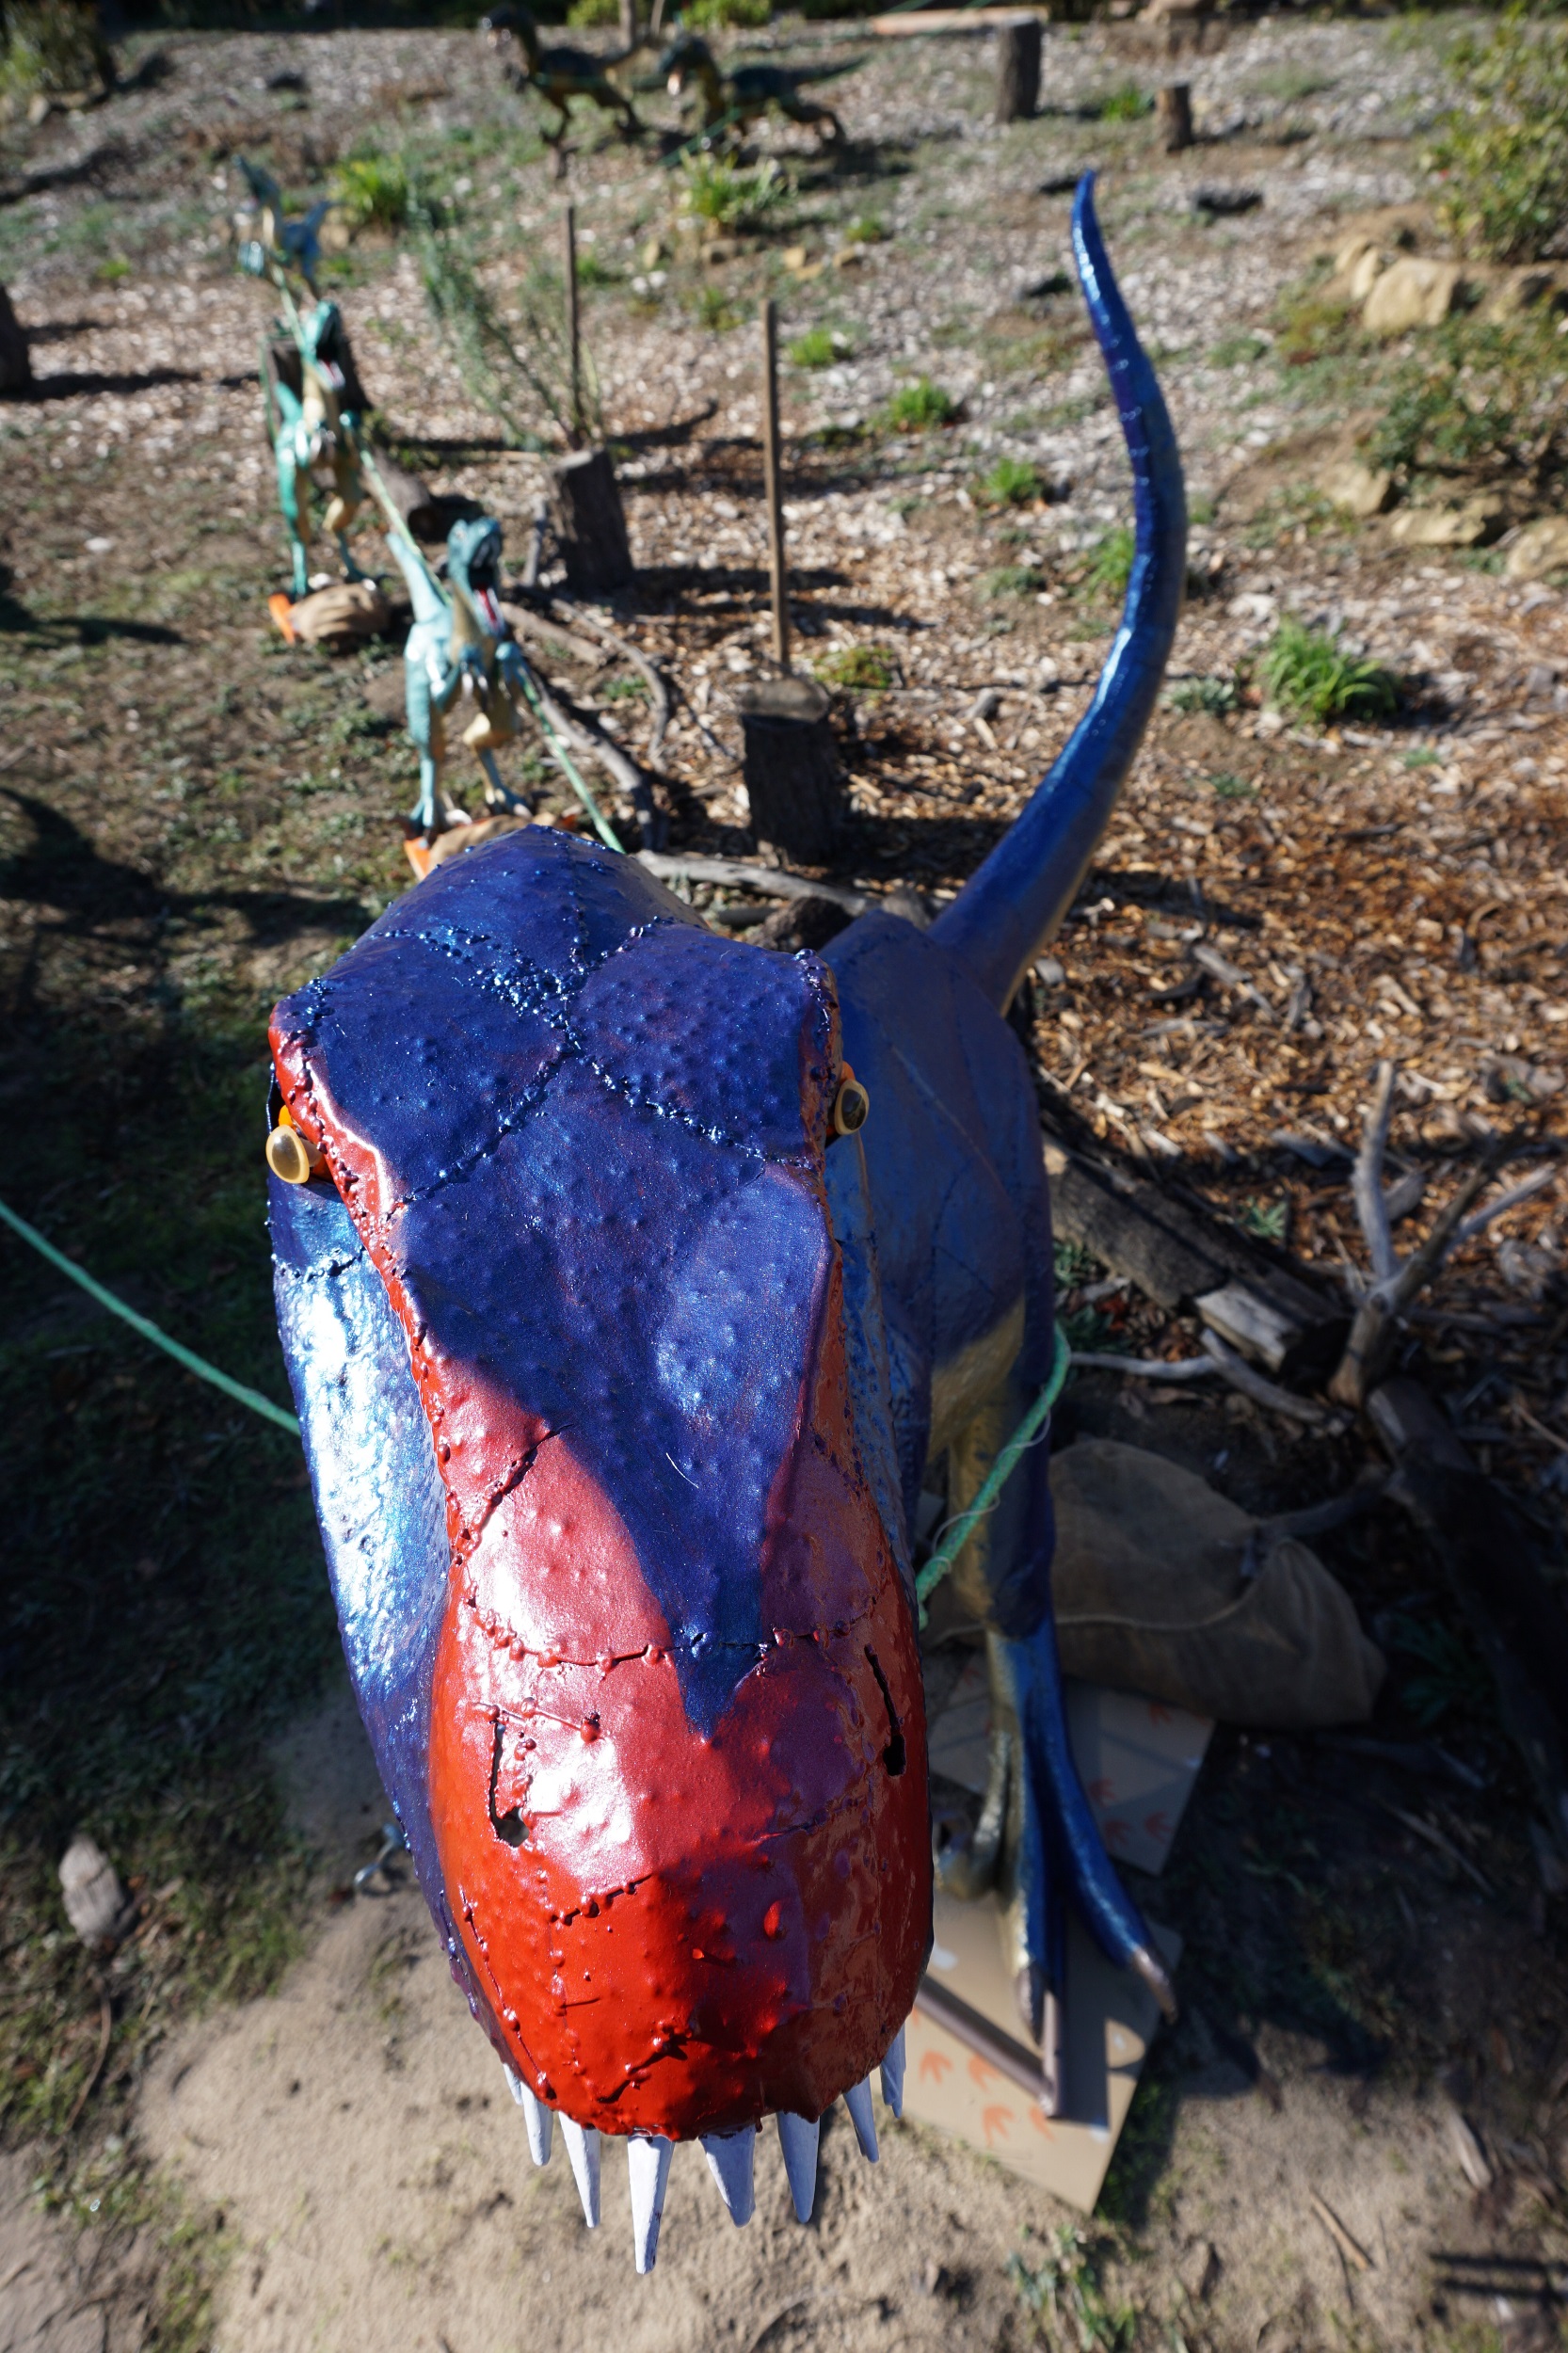
Before applying the new colors, I examined Raphael for other areas of minor rust to address since his last painting 2 years ago. Using a wire brush, then a dusting brush and blower to remove any loose particles. I removed the Plastic Eyes and cleaned the Eye Rings of all Silicone Glue before painting. Cobalt Blue Metallic & Gold Rush Metallic are Raphael’s new primary colors. His Claws & base frame Hammered Brown. Tongue & Nose Apple Red Metallic with Gloss White for the teeth and around the eyes and Gloss Real Orange for the Eye Rings. No masking for the Blue & Gold. I used an Artist brush dipping into paint sprayed into the can caps to adjust for overspray of either color. Same for painting the claws and base frame. This saved a great of time and blue tape. I did use recycled plastic bags with the blue tape to mask off for painting the tongue. Make sure you wear a mask with the metallic paints. You don’t want to breath in any of those little metallic flakes that fly around.

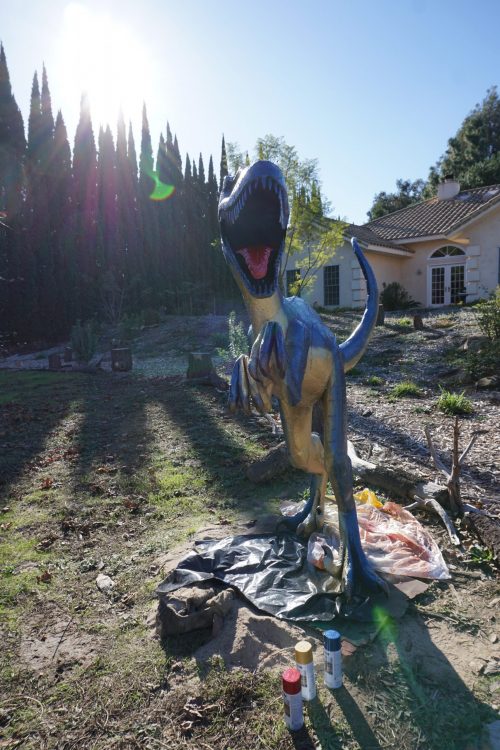
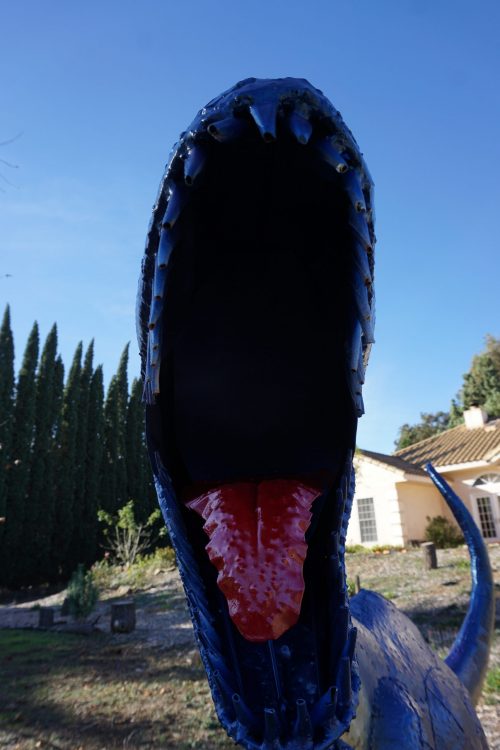
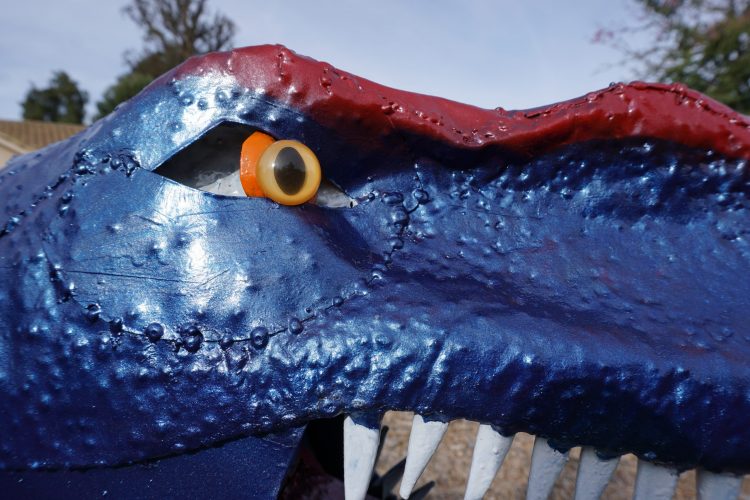
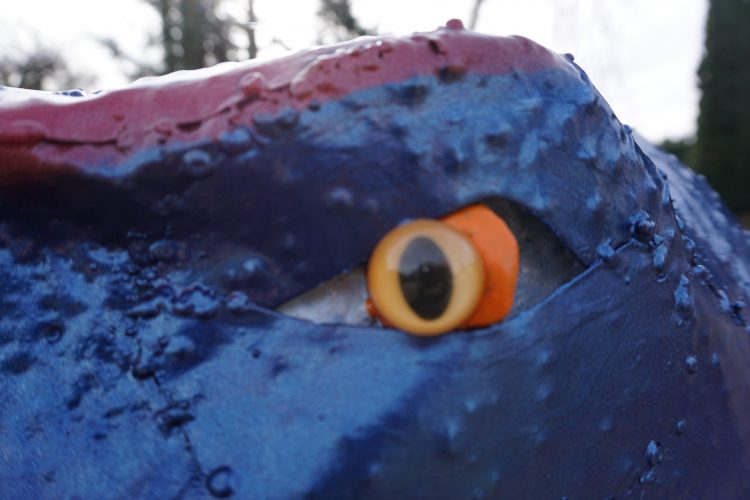
I did not mask off to paint the Red Nose and Eye Brows. I used a piece of cardboard in one hand and sprayed in an upward angle to cover the Nose and above the Eyes. I used an Artist brush to apply the Gloss White to the Teeth and Behind the Eyes. I allowed a day for the coats of Apple Red Metallic to cured. Then again using a bushy Artist Brush I applied the Cobalt Blue Metallic to cover the overspray from the Apple Red Metallic providing more defined edges for both colors on the top of Raphael’s head too! While this was drying a second coat of the Gloss White with an Artist brush was made to the Teeth and behind the Eyes. This was followed with Gloss Real Orange being applied to the eye Ring.
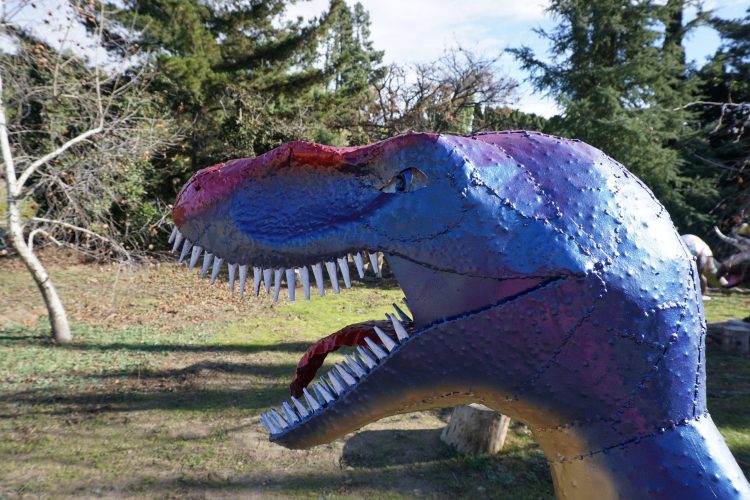
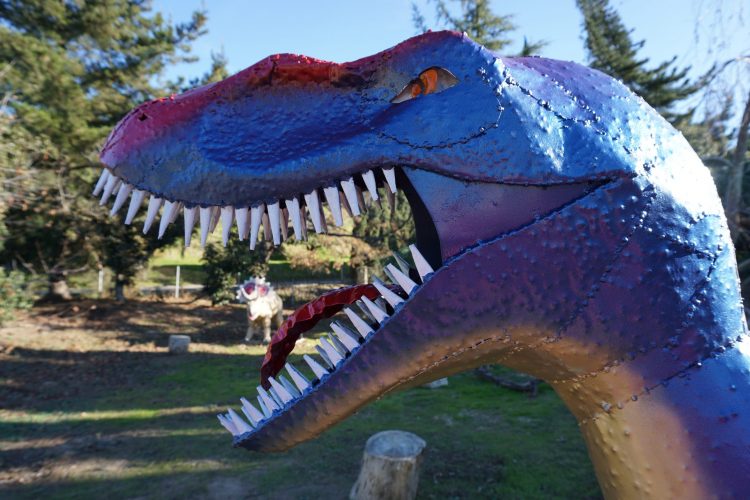
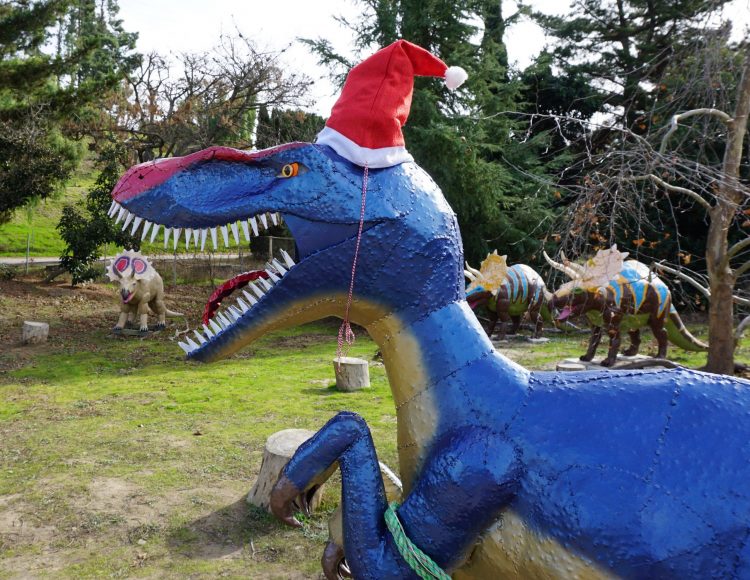
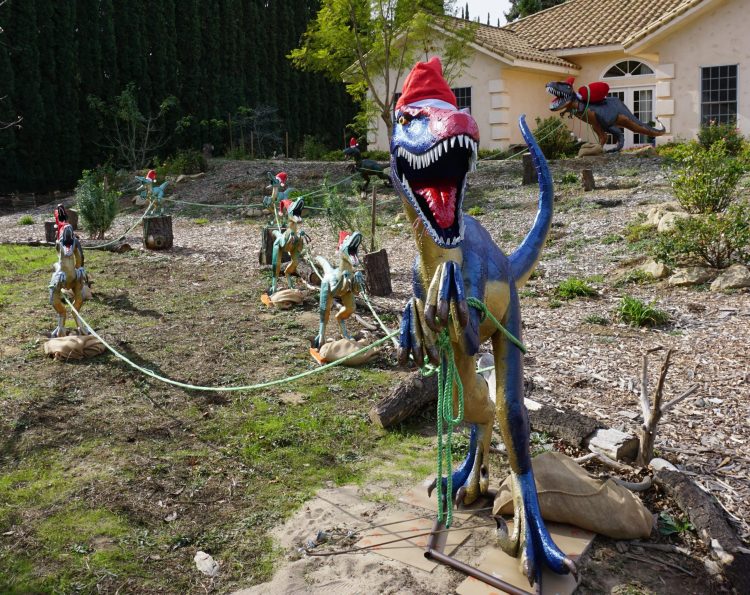
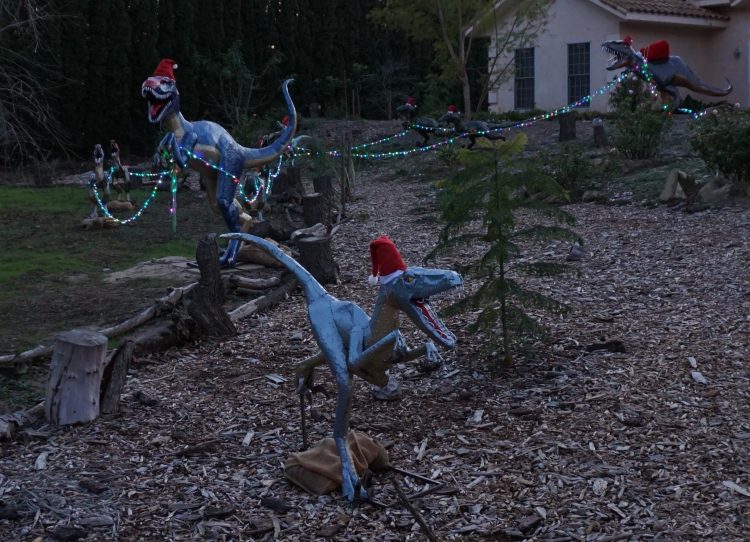
The Plastic Eyes become cloudy over time especially the ones in the sun most of the day. I found Meguiar’s Cleaner Car Wax does a good of removing if not all at least most of the oxidation. Plenty of Clear Silicone Glue in the Eye Ring then reinsert the Plastic Eyes. Hold briefly to make sure they stay in place. If you have a problem with the Plastic Eyes sliding around add a piece of blue tape after you have positioned them the way You want. Leave the tape in place for at least 24 hours before removing to allow for the glue to set. Now Raphael is ready to take his place in the lead. Decorative Ropes, Rope Lights & Santa Hat Everyone was Ready for their Prehistoric Quest. Since the Hats & Santa bag may not be washable (most likely not) I have been removing them before rain or nights with a heavy dew. Everything else is able to handle the weather outdoors. It takes a few minutes to put them back on. It’s worth it for the smiles it brings to those passing by!


Wishing You the Joy of Adventure & Discovery in the New Year!
Catch “Titanosaurs 3D” & “Antarctic Dinosaurs” at the Natural History Museum in LA before the Leave!
Be Trilled by “Titanosaurs 3D” & Chill with “Antarctic Dinosaurs”!
“Encouraging the Appreciation of Art and Education through the Inspiration of Dinosaurs”
Paul & Prehistoric Pals
Your feedback is appreciated, comment below or email:
paul@paulsprehistoricpark.com
Thank you!